


After finishing the tutorial for one of the Floral Sketches BOM blocks that was composed of hourglass blocks yesterday I thought that it may be a good idea to share some quick reference charts I made for myself to determine the size of pieces to cut.
There are basically two common methods for cutting and assembling Hourglass blocks.
Method 1 Using the Quarter Square Ruler and Strips
There are various versions of this ruler. My ruler is the one by Nifty Notions shown below
but Darlene Zimmerman has one called the Companion Angle ruler

This method is the one that I use as the resulting hourglass blocks require less trimming and are more accurate. To use the quarter square ruler you need to first cut strips of the required size. I have made up a ready reckoner table so that you can easily see what size strips you need to cut to obtain the correct size hourglass block.
I needed 4 inch fished hourglass blocks so before they were stitched in the Floral Sketches block they were 4 1/2 inches. Looking up 4 inches finished in my table I can see that I need strips cut at 2 1/2 inches.

This method makes 1 block at a time.
You need to choose two fabrics that are a contrast or different value to each other
- Cut 2 strips each 2 1/2 inches wide, one from each of your fabrics. You can stack your strips if you wish

- Using your quarter square ruler line up the 2 1/2 line on the ruler with the lower edge of the strip
- Cut the triangle
- Flip the ruler over and cut another triangle
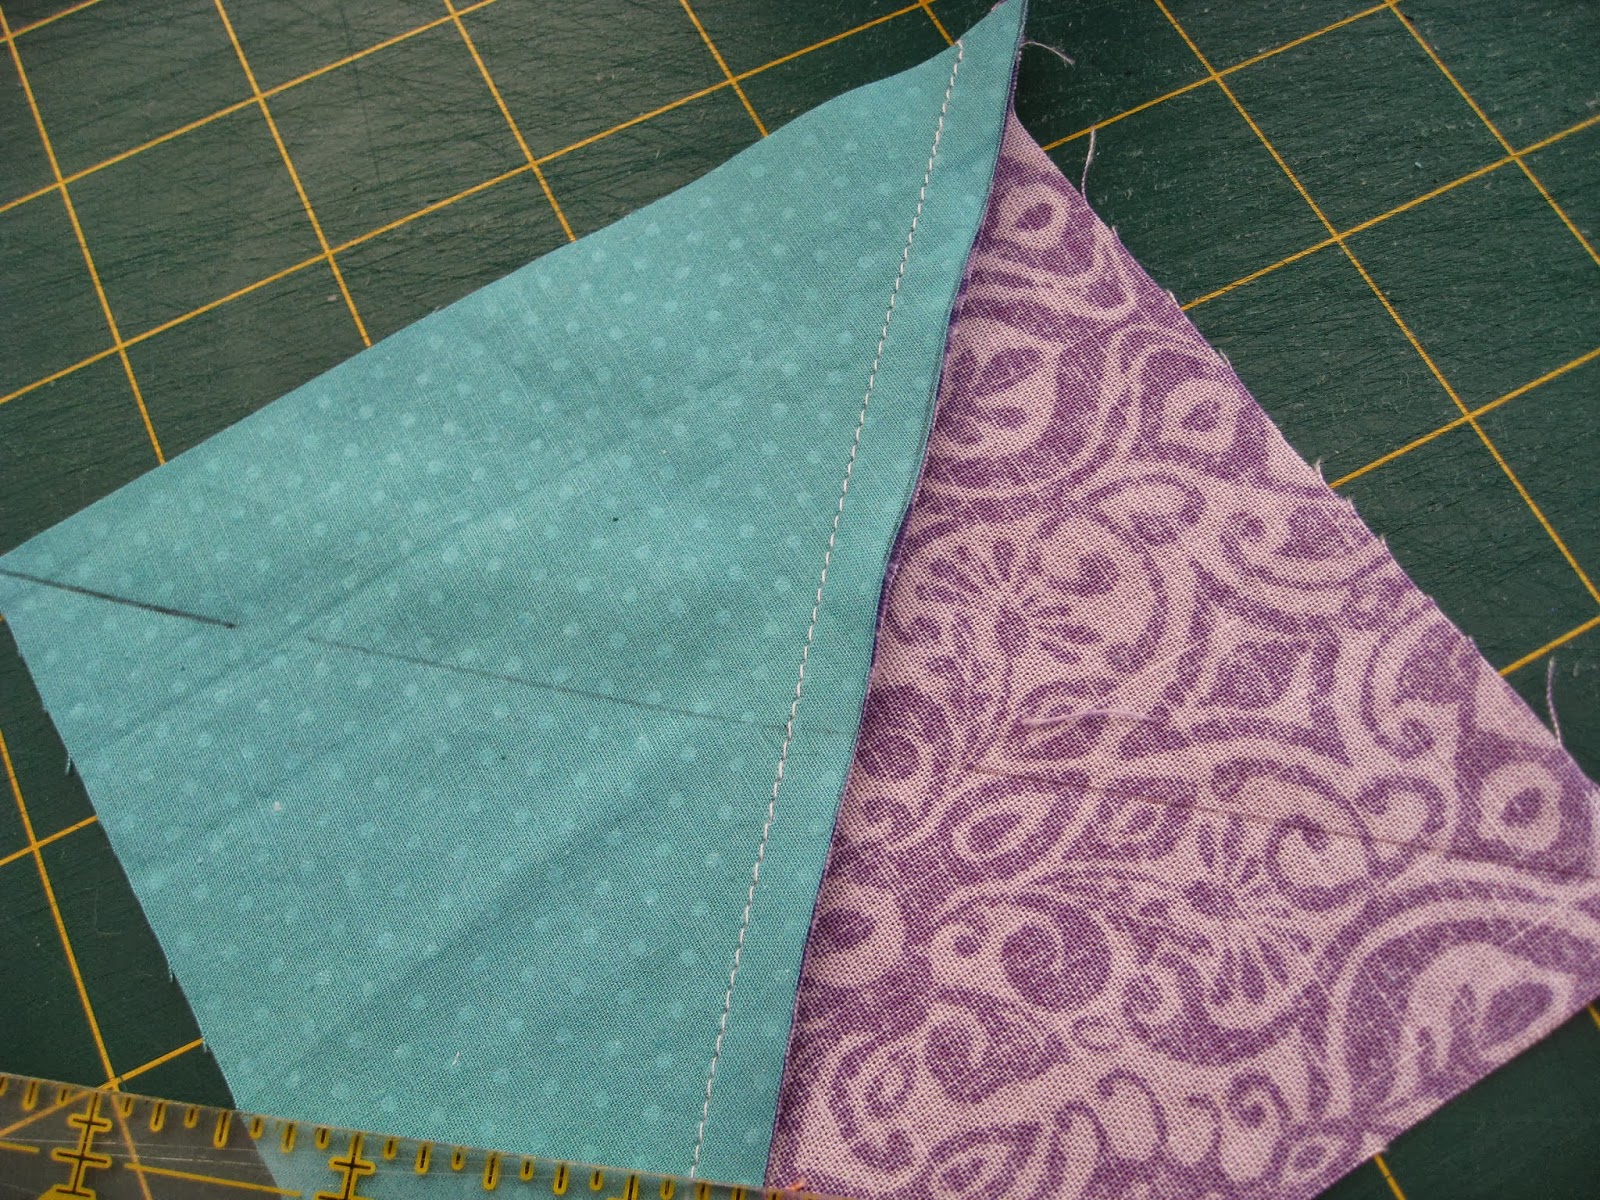
- For one hourglass block you need to cut four triangles, two from each colour strip


- Pair up adjoining triangles, stitch. I always stitch from the long outer edge to the centre of the triangles.

- Set the seams and press the seams towards one colour

- Pair up both triangle units matching the centre seam. The seams should nest together nicely. Stitch. Set the seam and press well.

You should have minimal trimming with this method. I have
instructions on how to trim in the next method.
Method
2 Using Traditional Method
The general formula for this method is that you add 1 1/4 inches on to the finished size for your block when set in the project. Therefore my 4 inch square block or 41/2 inches before setting it in requires me to cut two 5 1/4 inch squares.

This methods makes 2 blocks at a time
You need two fabrics as before


Set the seams and press towards the darker colour, purple in this case
Flip one of the half square triangle units over and draw another line on the diagonal that is perpendicular of that unit as shown.
Flip one of the half square triangle units over and draw another line on the diagonal that is perpendicular of that unit as shown.
Once again stitch 1/4 inch each side of the line you have drawn in.


Set the seams and press the units.
We now need to trim the units down to the correct size.
Lay one of the hourglass units face up on your cutting mat. You need to use a square up ruler or your cutting ruler with a 45 degree line.
We now need to trim the units down to the correct size.
Lay one of the hourglass units face up on your cutting mat. You need to use a square up ruler or your cutting ruler with a 45 degree line.

Place your ruler on top of your unit so that the 2 1/2" lines are on the centre of the unit square and the diagonal line (45 degree) on the ruler is on the sewn diagonal line of your unit. ( Mine is a bit off, trying to take a pic and hold the ruler all at once can be difficult at times)
Trim off any section along the top and sides of the ruler that extends out

If you wish to make hourglass units with many different colours you can:
- If you do have a quarter square triangle ruler you can cut strips as described in Method 1 from the two colours
- If you do not have a quarter square ruler determine the square size you need to cut sqaures as you do in Method 2. For example to make the 4 inch finished hourglass block I would 5 1/4 in squares. You then cut the square into 4 pieces across one diagonal and then across the other to yield four squares the same.


· .


 Quilter Blogs & Store Search
Thanks Vicki for these great tutorial.
ReplyDeleteThanks
You are welcome Anita.
DeleteThanks so much, Vicki, for taking the time to share this! The chart of measurements was exactly what I was looking for, and your tutorial is so clear and detailed.
ReplyDelete